Traditional eco-sustainable poplar cultivation
Our vision is aimed at more efficient and eco-sustainable poplar cultivation
POPLAR CULTIVATION
Traditional poplars and products derived from them
Traditional tall-trunk poplar cultivation is based on plants with a density of 270-300 plants per hectare and cycles of 8-12 years; it involves the use of relatively intensive and often agronomic cultivation techniques (fertilisation, weeding, pruning, etc.) to facilitate the productive potential of the plants used. The techniques used vary in quantity and quality according to the environmental characteristics, the clones used and the different types to be obtained.
Research plays a fundamental role in the continuous selection of clones characterised by high productivity, disease resistance, wood quality and adaptability to the different environmental conditions in which they will be used. At the end of the production cycle, the best part of the trunks is destined for stripping for the plywood and fruit and vegetable packaging industries, as well as for sawing for the production of slatted panels, packaging, semi-finished products for furniture and fixtures and furnishing components, while the by-products (logs, lops, twigs) used for the production of particle and fibre panels, paper pulp and biomass for energy use (wood chips).


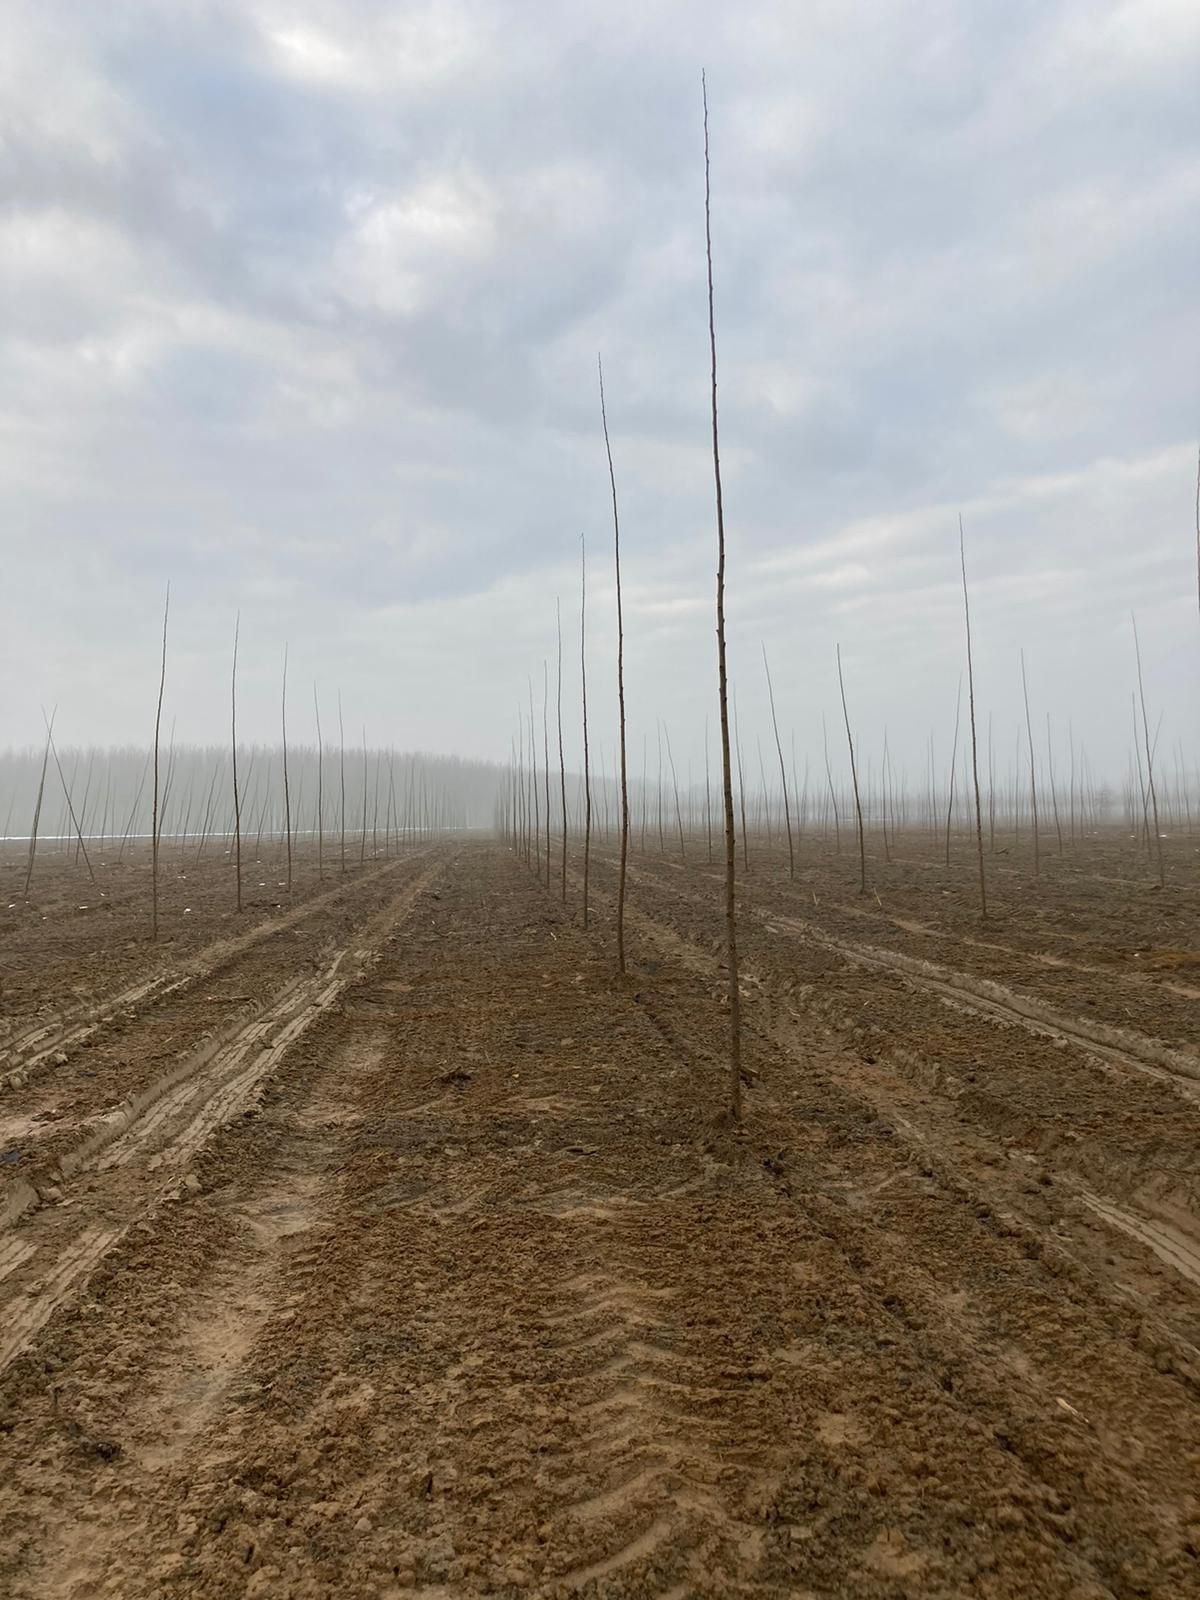
Procedures used for planting and establishing a poplar grove
The poplar field must be created when the poplars are at rest, avoiding the most intense periods of frost that can hinder correct opening and closing of the holes.
For the planting of poplar trees, careful preparation of the soil is essential with ploughing at 40-50 cm followed by preimplantation refinement.
The planting of the young poplar trees must be done at a depth of 120 cm, the diameter of the hole should normally be around 20 cm. As an alternative to drilling in areas with shallow water tables such as in Friuli-Venezia Giulia, deep ploughing can be used for planting at 1 m. In coarse-textured soils with low water-holding capacity, augers with smaller diameters (up to 10 cm) can be used and the planting depth can be increased down to the permanent water table (maximum 300 cm). If the soil is gravelly, in this case the hole must be filled with sand.


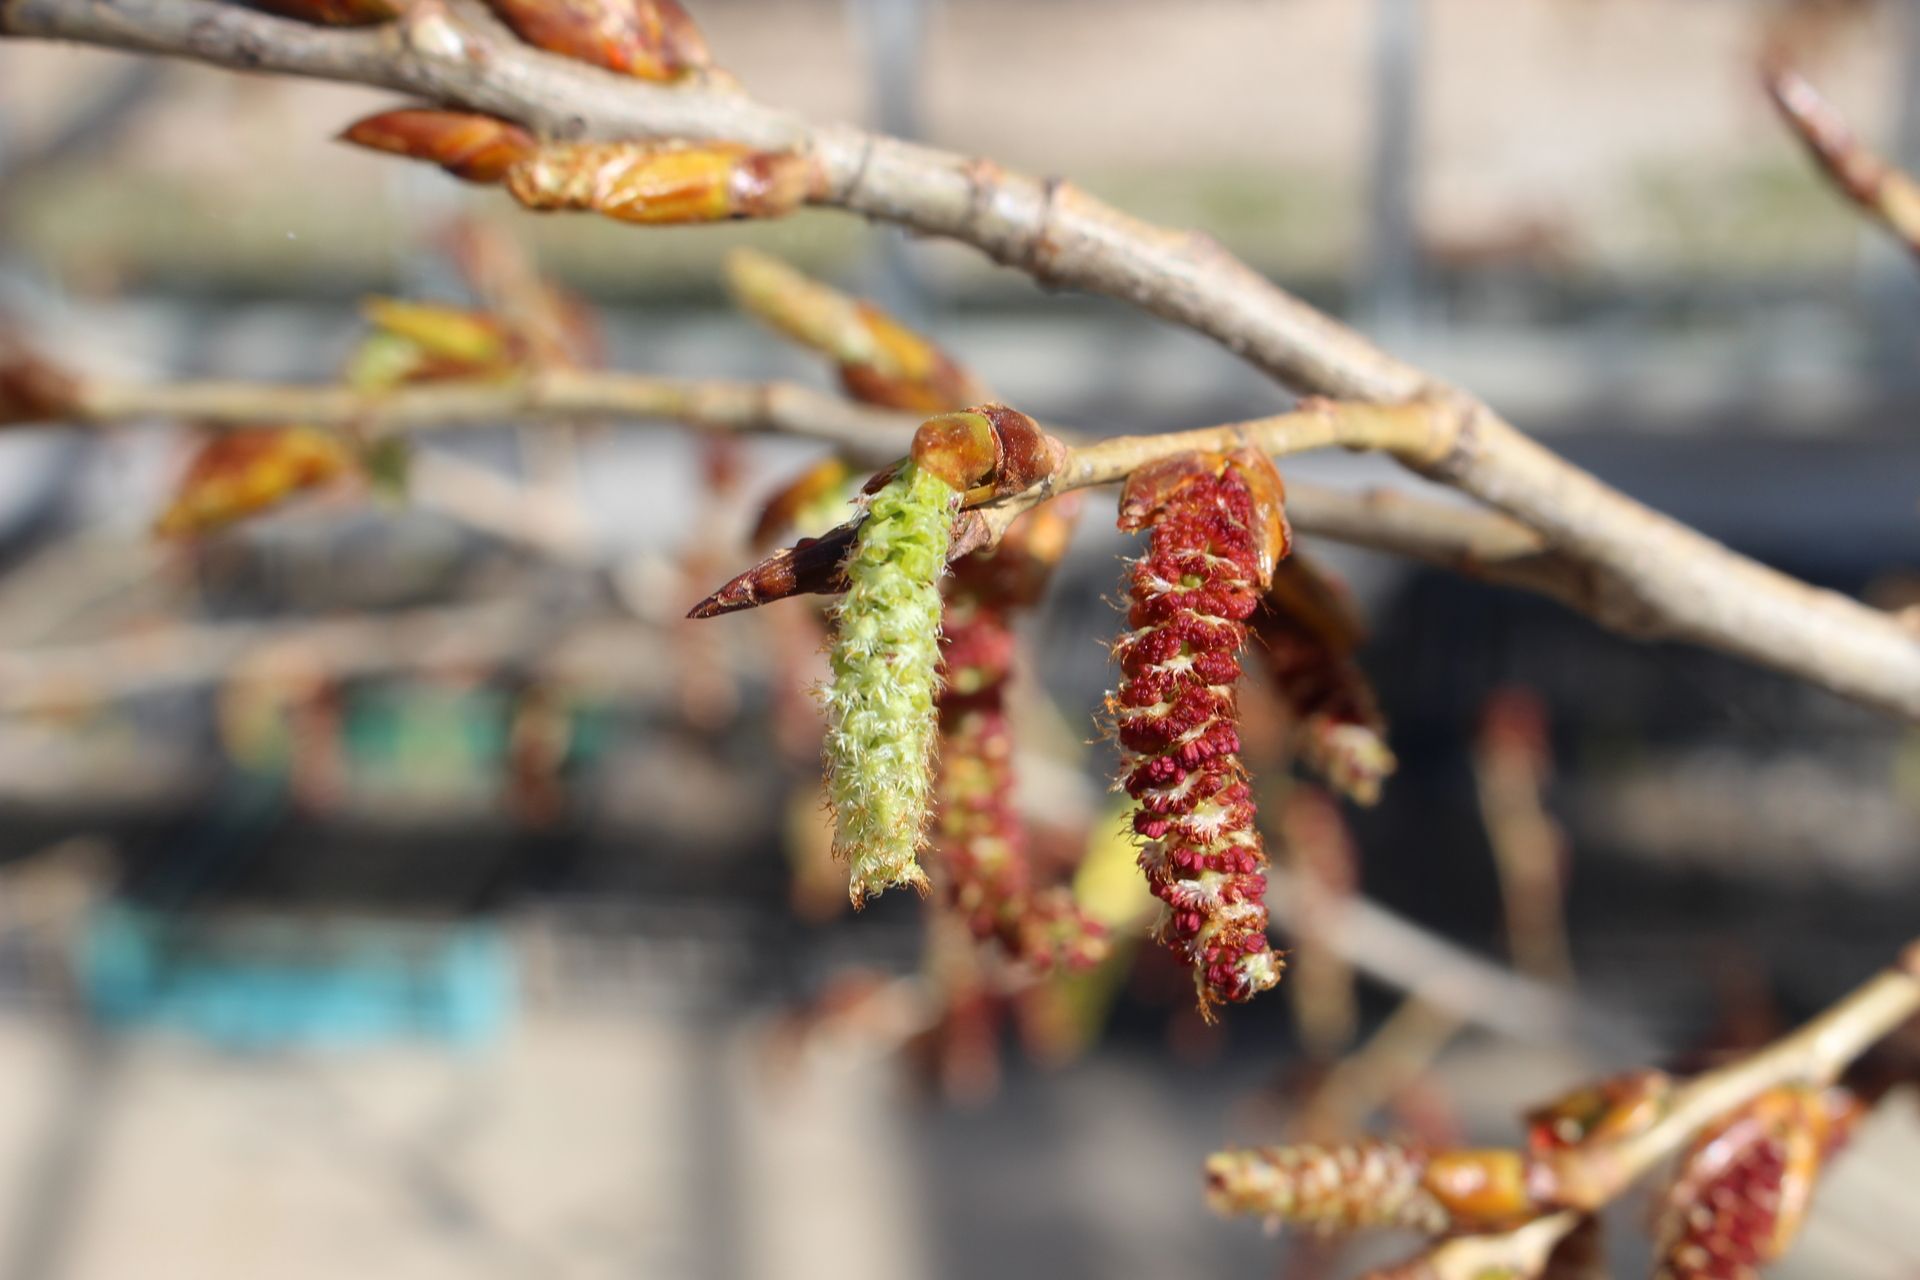
Innovative pruning method that we have designed, aimed at increasing the quality of the wood
Spring pruning
Carry out pruning at the start of May up to a height of 2.30 m of all the shoots on the trunk as shown in the photo. In the event of a new sprouting by some buds, the same operation must be carried out no later than June.
1st Summer Vertical Correction
The first correction of the apical stem above the new whorl is recommended if the branches competing with it reach a length of about 60-70 cm in July as shown in the photo. In this case, it is necessary to prune only 20 cm of the 4/6 branches competing with the central stem. It is not advisable to cut flush with the trunk as the central one once isolated from the crown may have heavy birds rest on it, which may break it and in this case create considerable damage to the shape of the trunk. Bringing forward the summer pruning helps develop a trunk that stays the same thickness throughout its length, due to the way the branches grow around it. If the development of the branches does not reach a length of 60-70 cm by the end of July, this first pruning of the trunk can be postponed in autumn/winter.


End of first vegetative year, pruning during autumn/winter
In the event that the correction of the central stem has not been carried out in the summer phase, the indication in point 1 must be carried out.
1. Cut in the whorl 4/6 branches flush with the trunk in competition with the central stem
Continuing with pruning both in the hypothesis of summer pre-pruning and winter pre-pruning, the following operations must be carried out:
1. Cut flush with the trunk all the branches on the central stem
2. cut to 30/40 cm all the branches present throughout the stage at the points indicated by the yellow arrows (this point must also be performed for plants where the vertical correction has been brought forward in the summer phase.
Vegetative regrowth in the second year
During the beginning of the second vegetative year the plant initially appears bare, but later during the course of growth it is completely covered with leaves without problems.
The advantage of this pruning is to significantly reduce the size of the branches, thus facilitating the next stage of pruning the trunk. In addition, the formation of knots in the trunk is reduced to smaller dimensions.
2nd Year of pruning the 2nd whorl
It is advisable to prune the second whorl in the months of May/June as, as can be seen from the images, performing the pruning at the end of the season has generated a significant tapering of the trunk between the 1st and 2nd year in the whorl. The 2nd year pruning must be carried out by cutting flush with the trunk 3/4 branches (those that compete more with the central stem) and 3/4 branches about halfway through its growth, thus obtaining a cylindrical whorl. In addition, the cutting of small herbaceous branches creates considerable advantages for operators in terms of work.


2nd Year of Pruning the 1st branch
Starting in September, the entire branch will have to be cut flush with the trunk from the first whorl towards the ground. Smaller branches will be easier to manage with pruning.
3rd Year of Pruning
Cut the branches of the 3rd whorl in June and then from September onwards from the second whorl towards the ground all flush with the trunk.
Pruning shoot growth on the trunk
In the first 5 years, whenever new shoots emerge in the first 9 metres of the trunk, they will be cut off no later than the end of May, even if there may be a small removal of bark. Therefore, they should not be cut flush with the trunk with the aid of scissors that would leave 1-2 dormant buds which, after the cut, would restart generating new shoots. This operation is necessary to avoid traces of knots in the stripping phase.
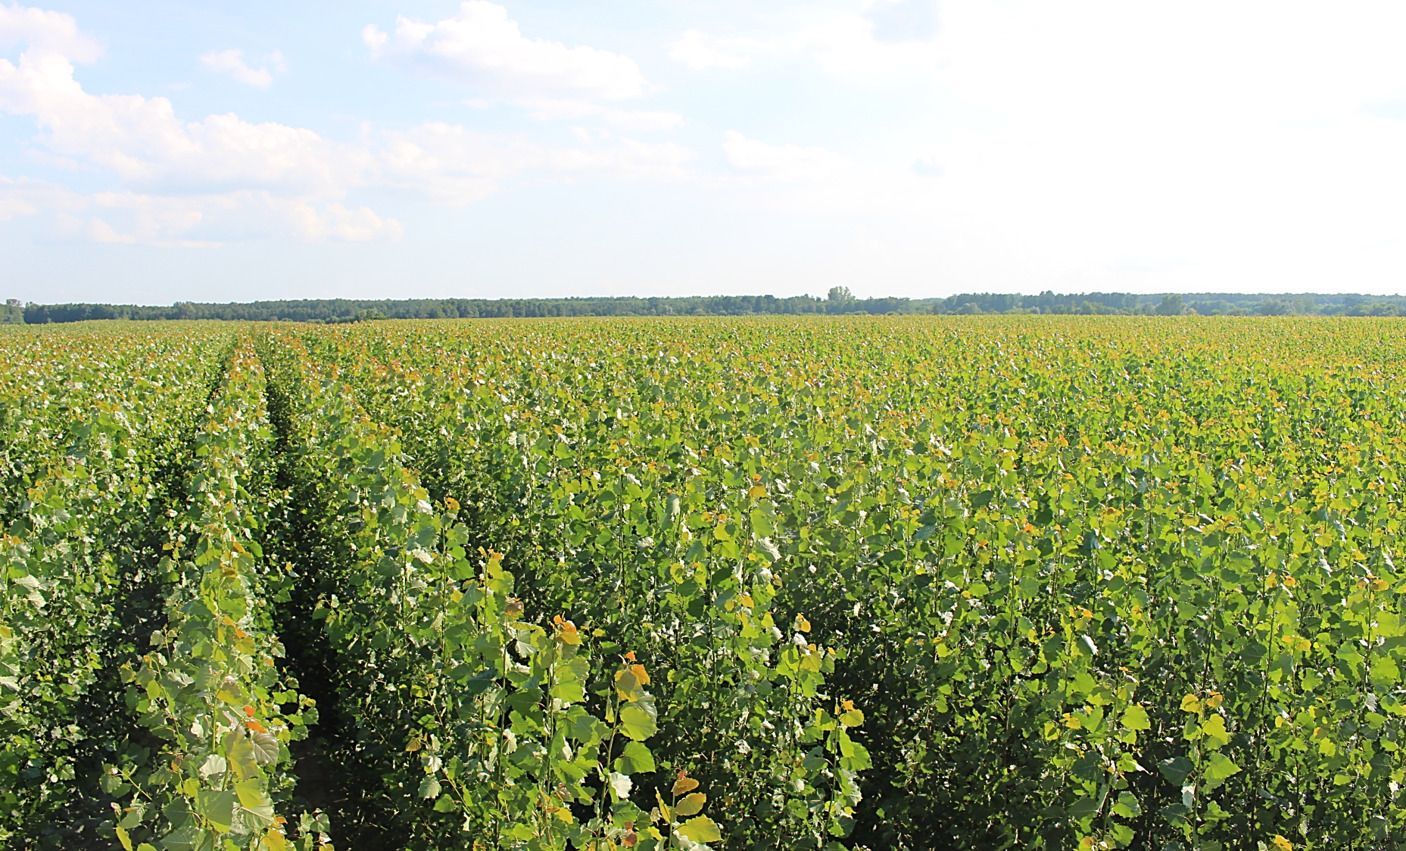
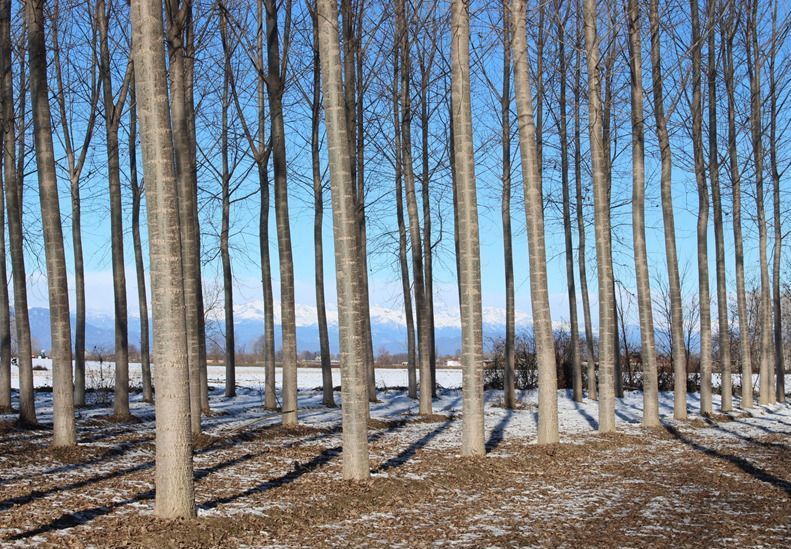
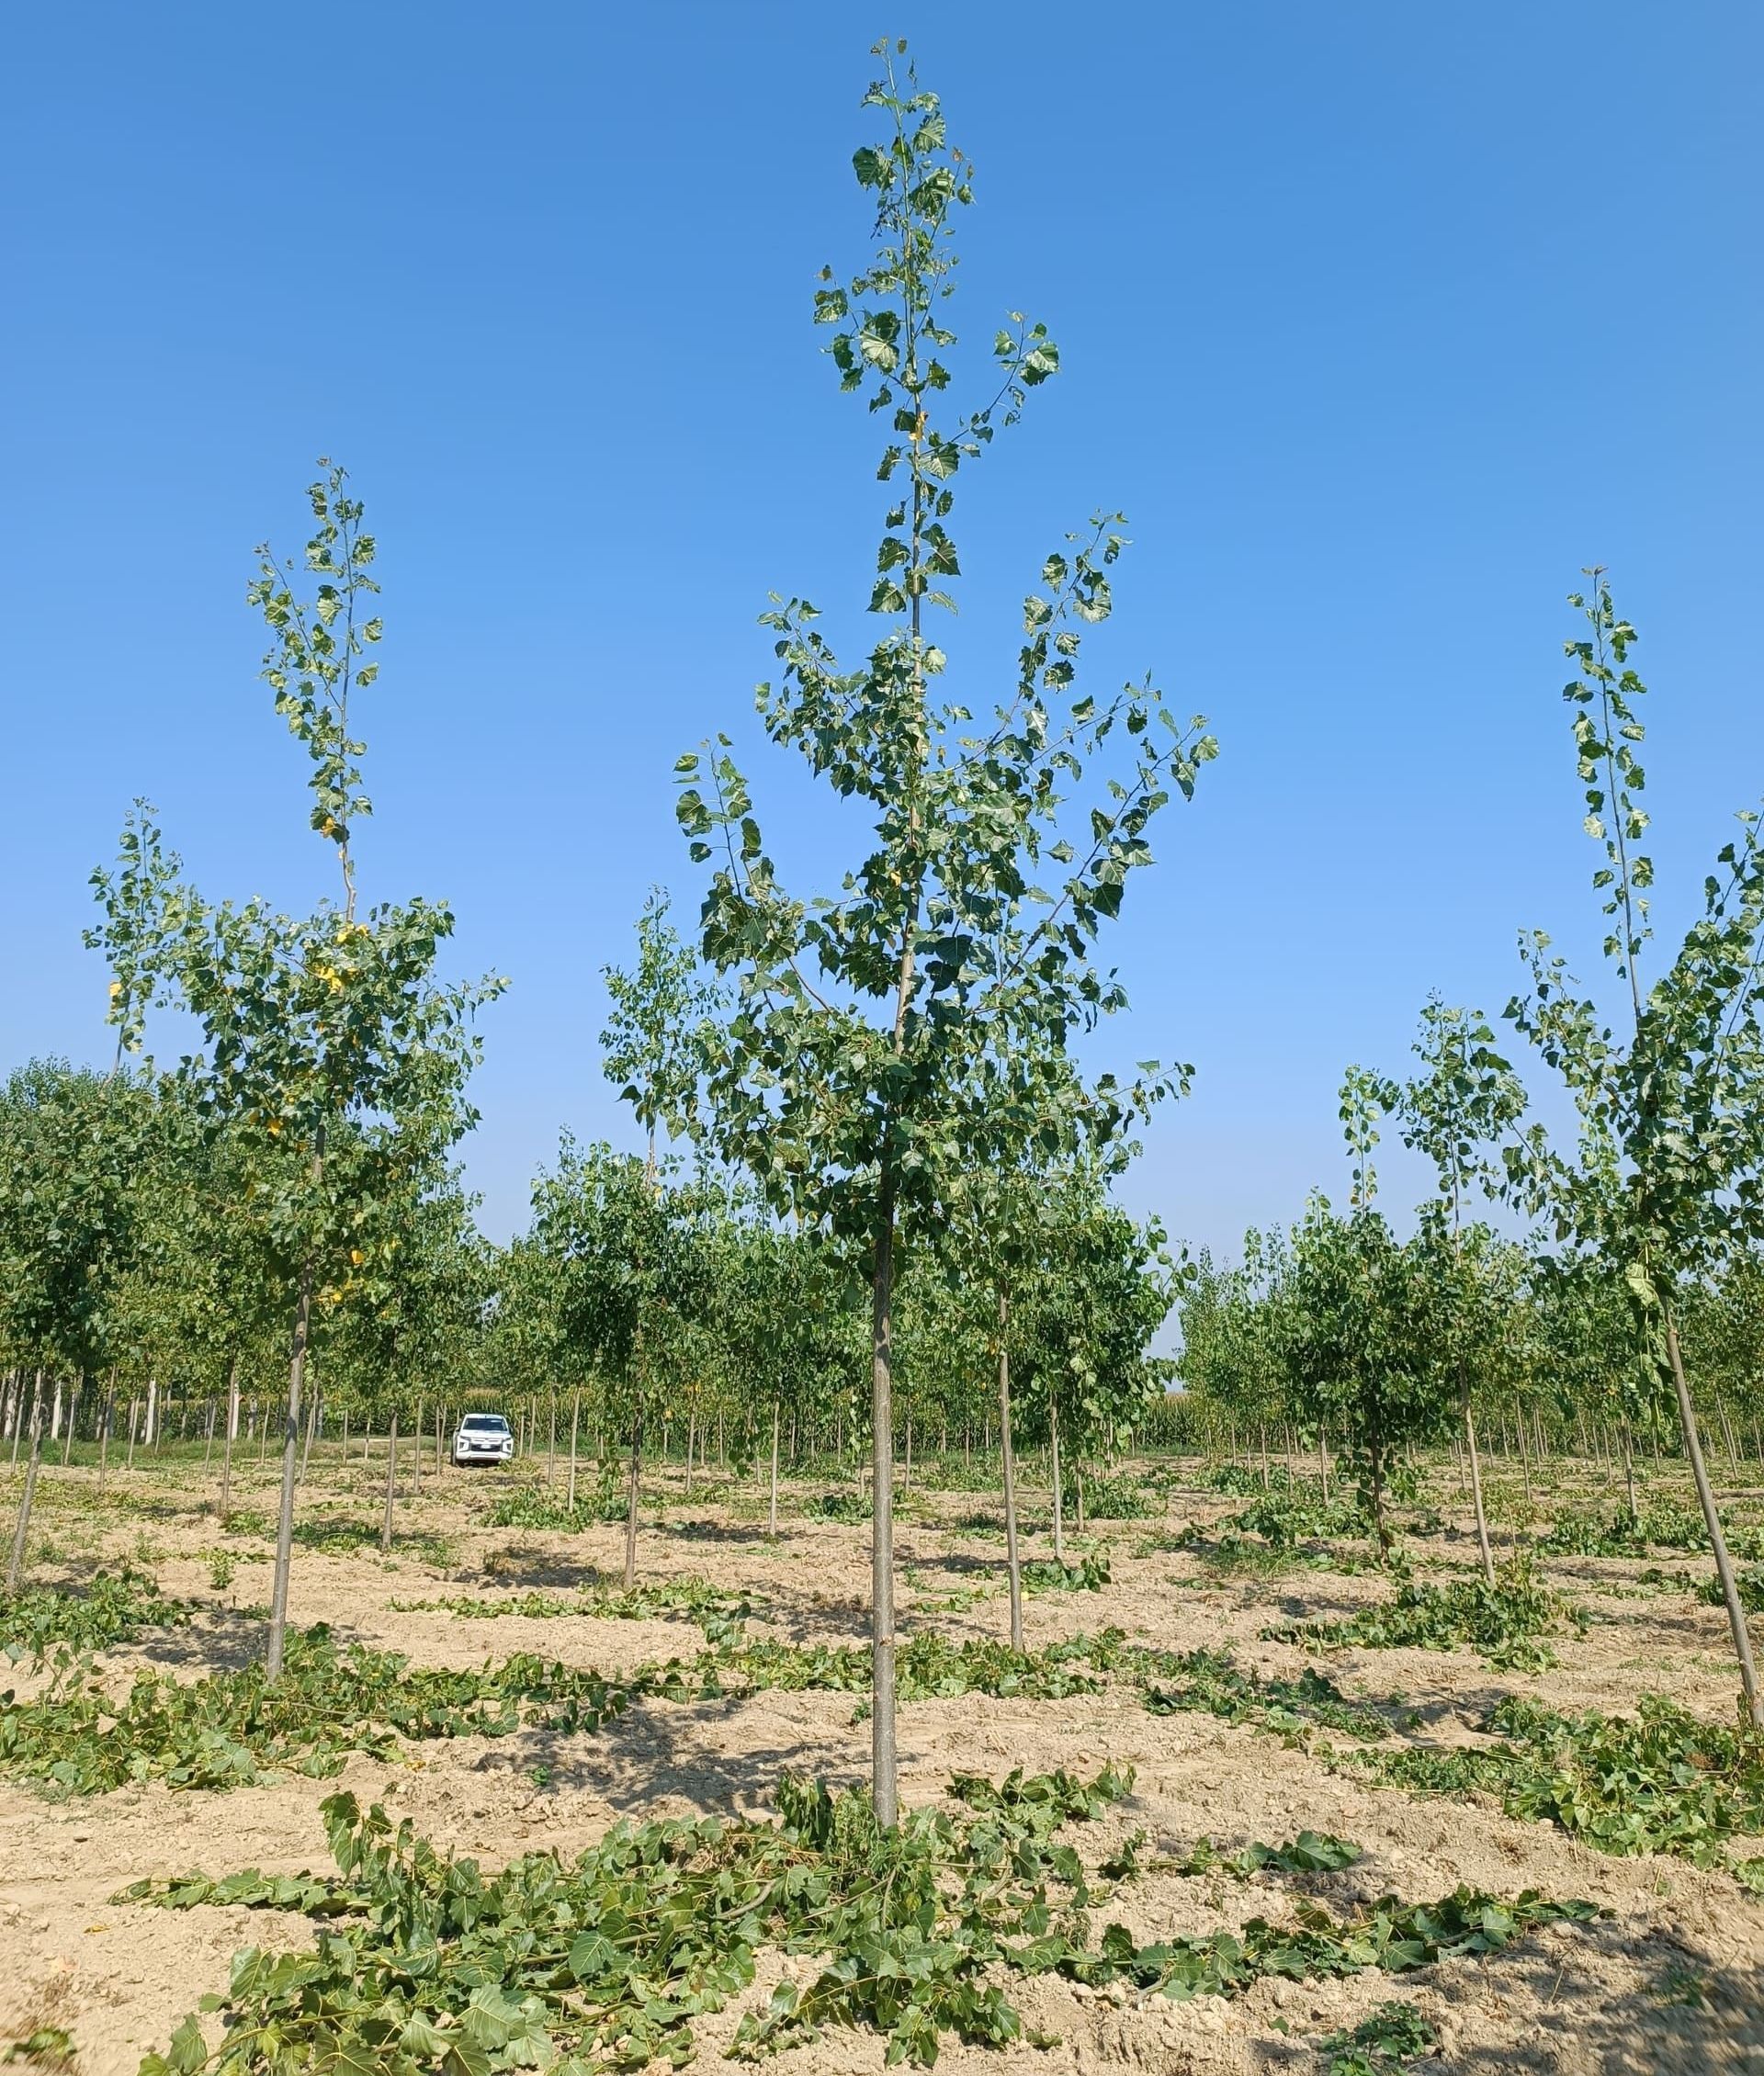
Per capita production per hectare will increase by adopting our pruning and soil tillage methods. – Some examples of poplars in the major poplar-growing areas in Europe with plantations of our clones.
Thanks to these innovative methods widely tested and with the use of suitable and selected clones, from our genetic improvement programme, the traditional cycle of poplar cultivation can be reduced by a few years.
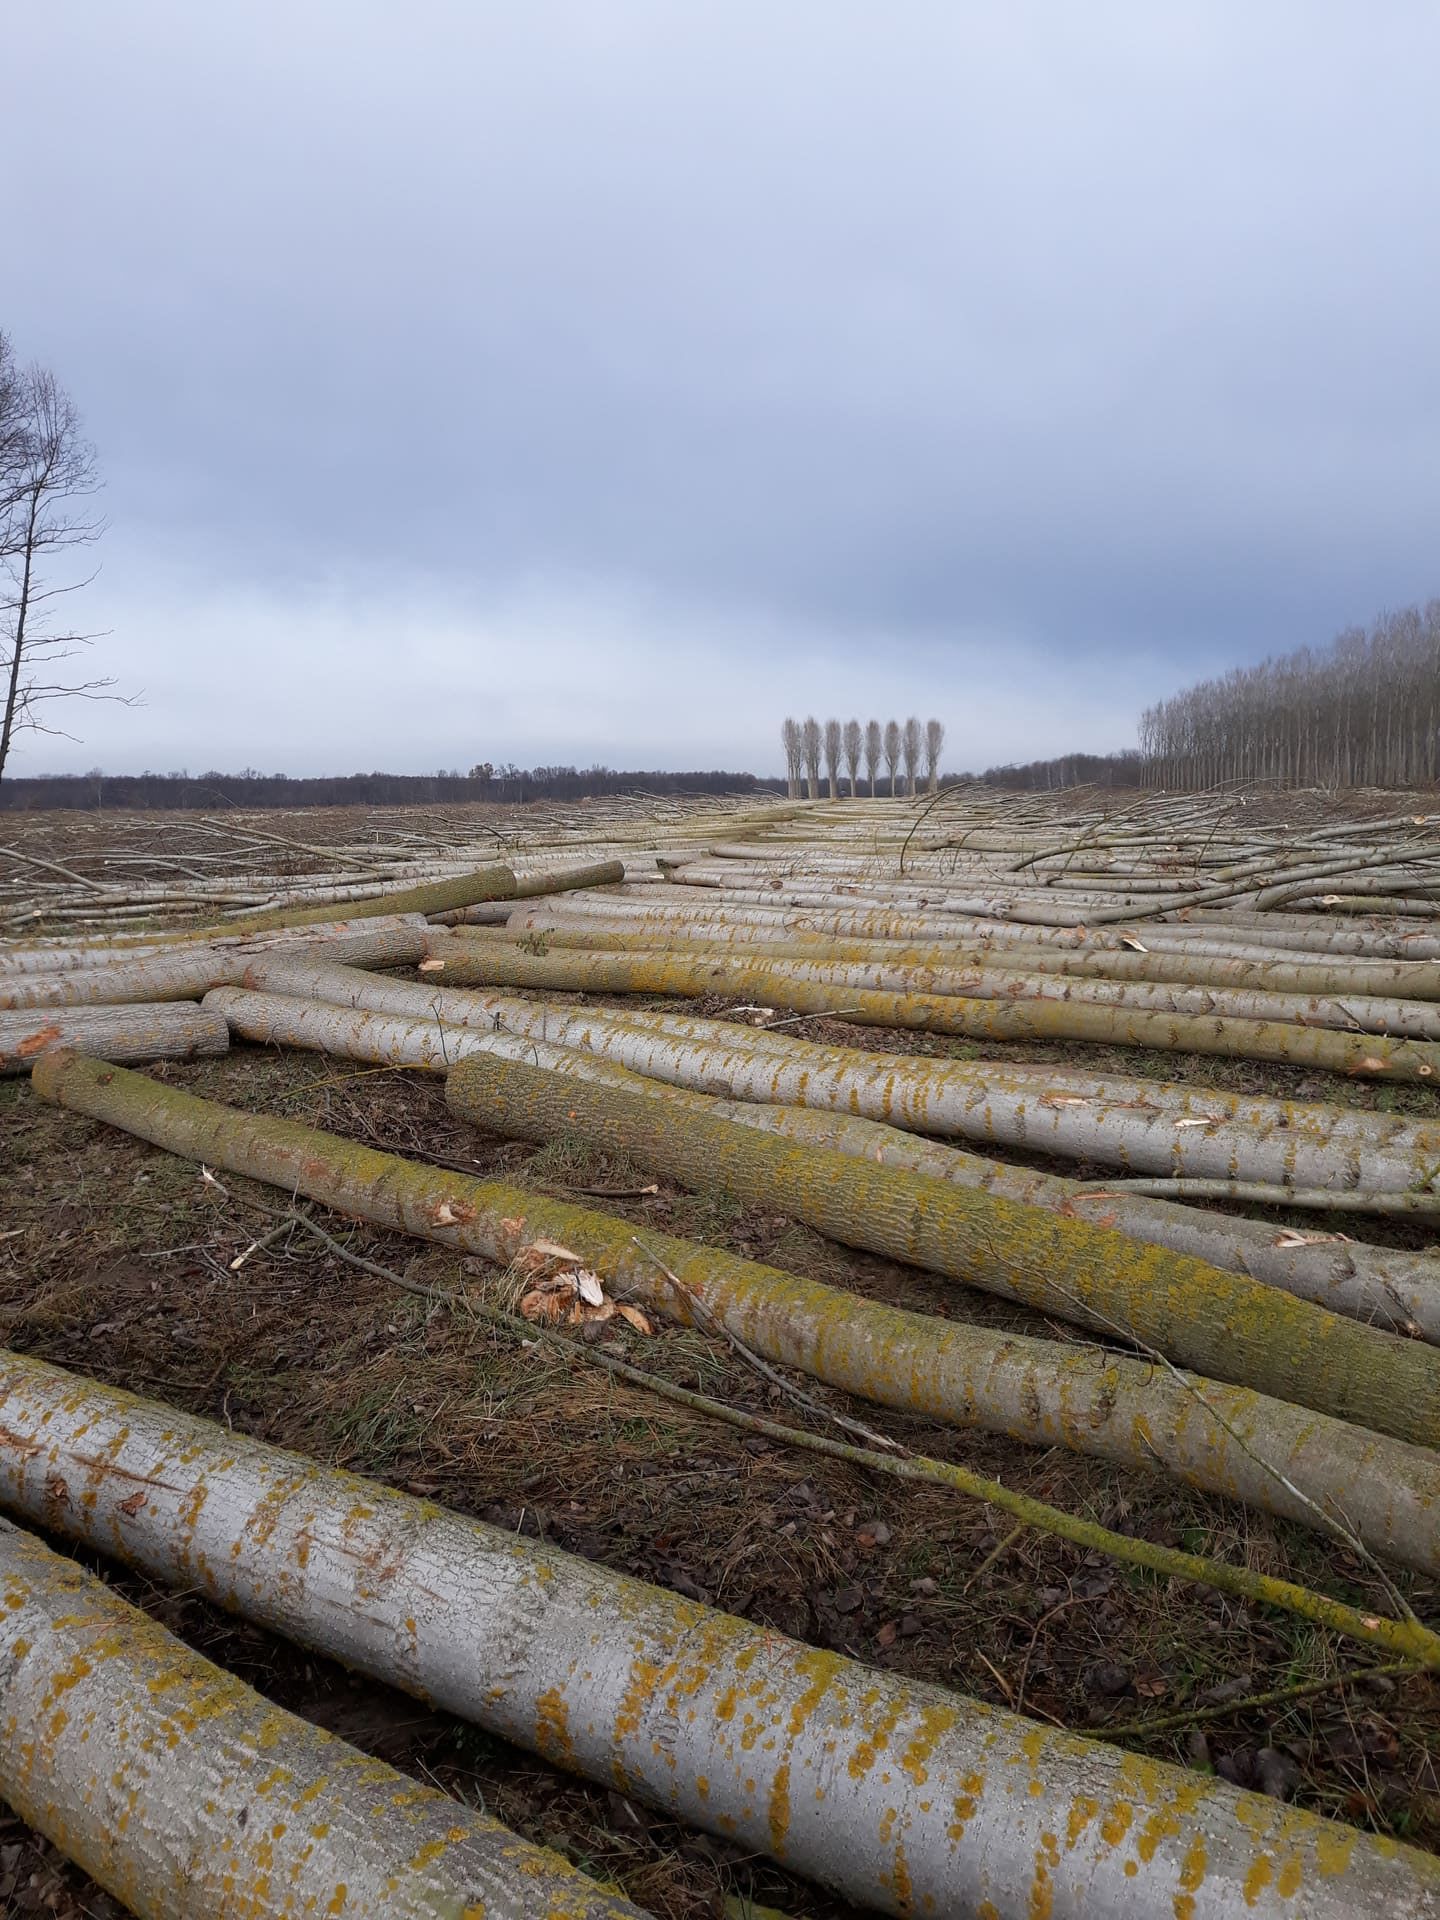
The steps from the cutting of the plantation to the final transformation into plywood panels:
- Poplar felling,
- loading and transport of the trunks destined for the processing industries,
- stripping for the production of plywood panels,
- finished product deriving from industries.


Production of plywood made with thin layers of poplar wood
Poplar plantations are mainly intended for the production of plywood, made with thin layers or "veils" of poplar wood.
Poplar plywood is produced in several countries in southern and eastern Europe.
Characteristics of poplar plywood:
- very light product with a density ranging from 400 to 480 kg/m3
- good mechanical properties
- very easy to work with
- colourless, odourless and tasteless
Uses and end-user industries
The characteristics of poplar plywood are highly appreciated compared to other types of plywood or other wood panels and is therefore greatly sought after by different industries:
- production of high-end elements in the construction and transport industry especially for campers, boats, trains
- furniture
- production of packaging products for the agri-food industry
- boxes for fruit, oysters and cheeses
- disposable chopsticks or cutlery
In these applications, poplar replaces other less sustainable alternatives such as single-use plastic